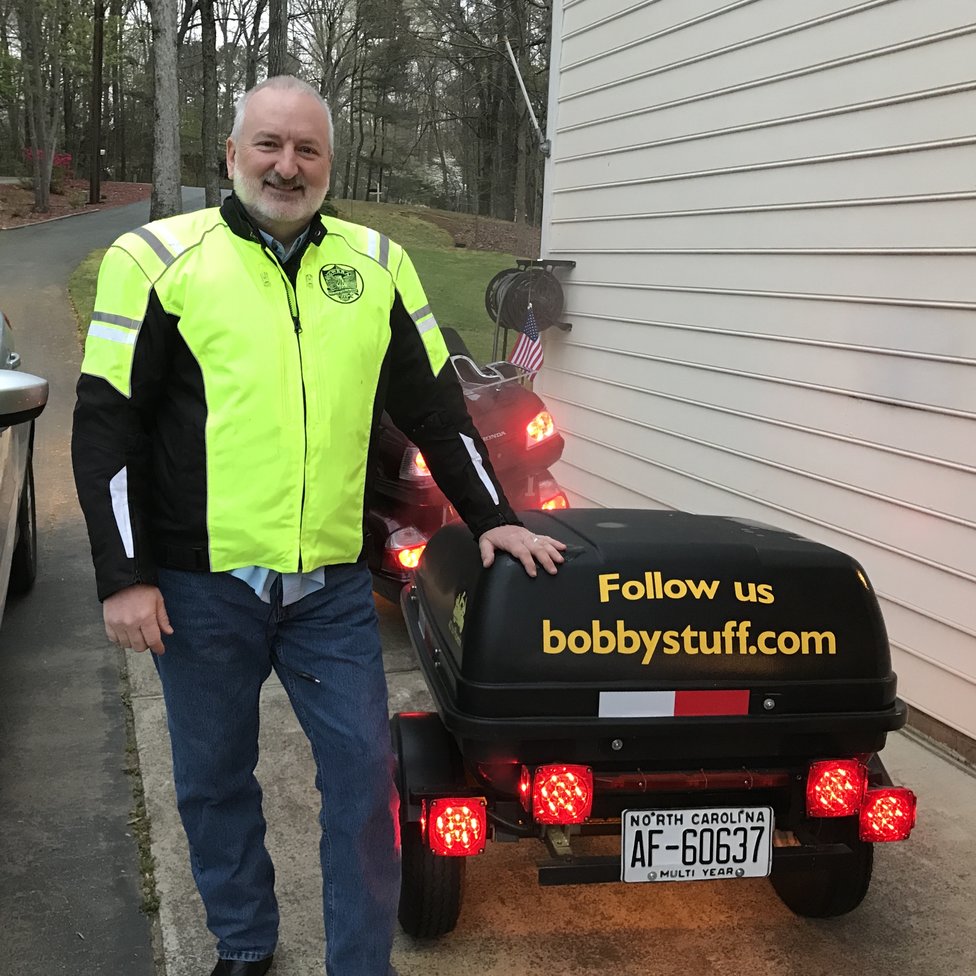
My Harbor Freight Motorcycle Trailer and Modifications
The 2017 40 to Phoenix ride was the first multi day trip I had ever taken on a motorcycle. I was unsure about how to pack clothes for such a trip but I think I did ok. Every cubic inch of storage was used and I strapped a bag on the luggage carrier. This worked fine but there was a precise location for everything and if I did not pack everything in its location every morning then I had "extra" stuff that did not fit.
I got tired of having to be so exact every morning. And when I bought a tee shirt there was no room for it. I saw other folks towing trailers and although I said I would never tow a trailer with a Gold Wing I started considering it.
The next day after I returned home from the trip my wife and I went to Harbor Freight and picked up their motorcycle trailer for about $200. It was on sale and we had the standard 20% coupon. I did not want to spend much money and still was not sure about the whole towing thing with a motorcycle.
I did some research and these trailers are very popular. There are a number of common upgrades. First I purchased tires from Northern Tool which were a larger size and also claimed to be "high speed". A larger size means fewer rotations per mile which puts less stress on the tire and wheel bearings. I replaced the wheel bearings with a better set.
To reduce the electrical load on the Gold Wing I replaced all the lights with LEDs. I bought my Gold Wing used and the previous owner had installed a 6 pin trailer plug. So I knew I wanted the brake lights separate from the turn lights which a 6 pin connector makes possible. With a 4 pin connector, the brake light and turn light are the same light. I wanted a lot of visibility on the rear of the trailer.
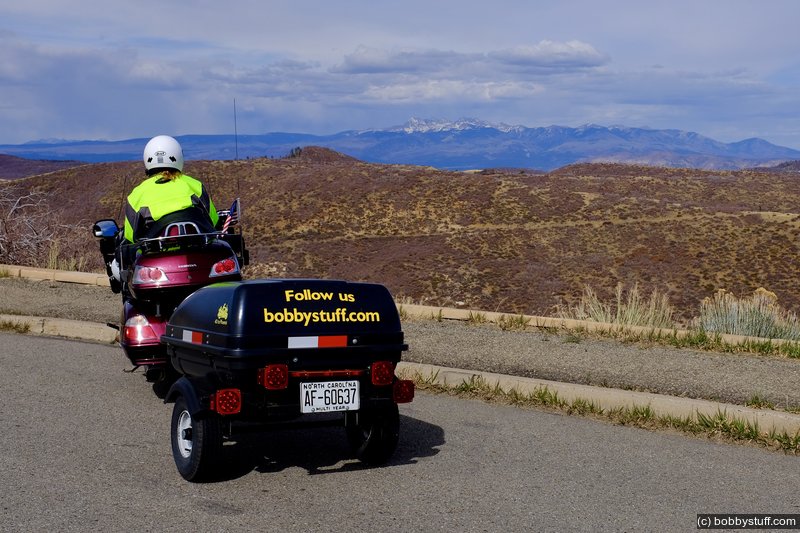
I did some research on LED tail lights because there is a lot of crap out there and Optronics seemed to get consistently good reviews. I purchased two sets for a total of 4 lights. Two I wired as brake lights and the other two as turn lights. All four are on constantly as running lights. To add more visibility I added a cross bar of red LEDs that also function as a brake light. I made a rear bumper and frame out of bed rails to hold the extra LED tail lights. I also made a carrier on the tongue for a cooler.
Just for fun I added a yellow LED strip under the trailer to give it a soft glow at night. It is just enough to get a driver's attention without being irritating. I want other drivers to see me.
And if they don't.... I added an air horn. The tank and compressor are in the trailer. I added a second 4 pin connector to the Gold Wing which supplies power for the compressor, power to the yellow LEDs via a switch on the Gold Wing and also a connection to the Gold Wing horns to activate a relay to energize the solenoid to supply air the the air horns. If they don't see me as least they will hear me.
I used relays and fuses so that nothing is connected directly to the Gold Wing's wiring. I took it on some test rides and all was well. But one thing kept bugging me. Did I need a swivel hitch? I did some more research and like politics, religion or car tires on a motorcycle, everyone had strong opinions. I had decided to not worry about it but one guy made a good point. He was riding slowly into a gas station and hit a curb with one of the trailer tires. The trailer flipped up with enough force to torque the hitch and bike and cause him to have a slow speed tip over.
That convinced me but there was another problem. Adding a swivel hitch would almost double the money I had in the trailer. At this point I had spent about $300 total and a swivel hitch would be another $200. Then I found a post by a fellow that used a part from a farm tractor hitch to make a swivel trailer hitch. I thought it was a neat idea.
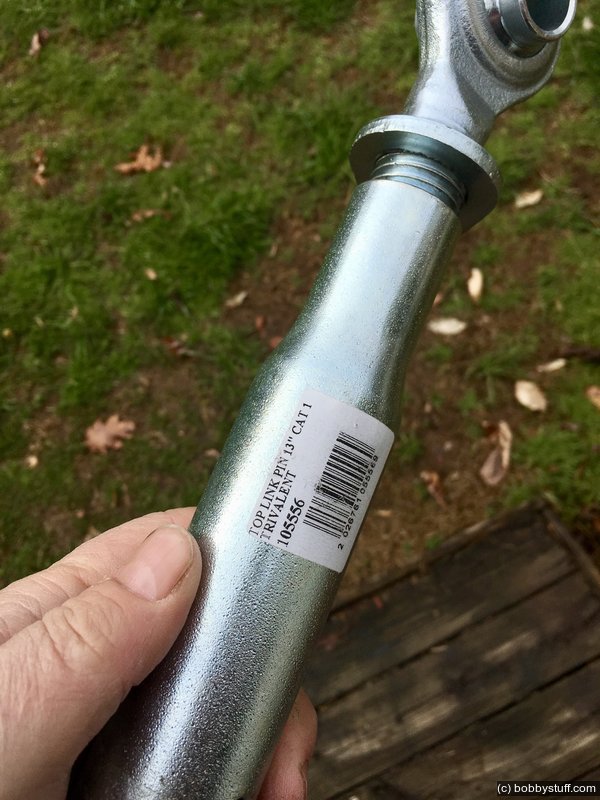
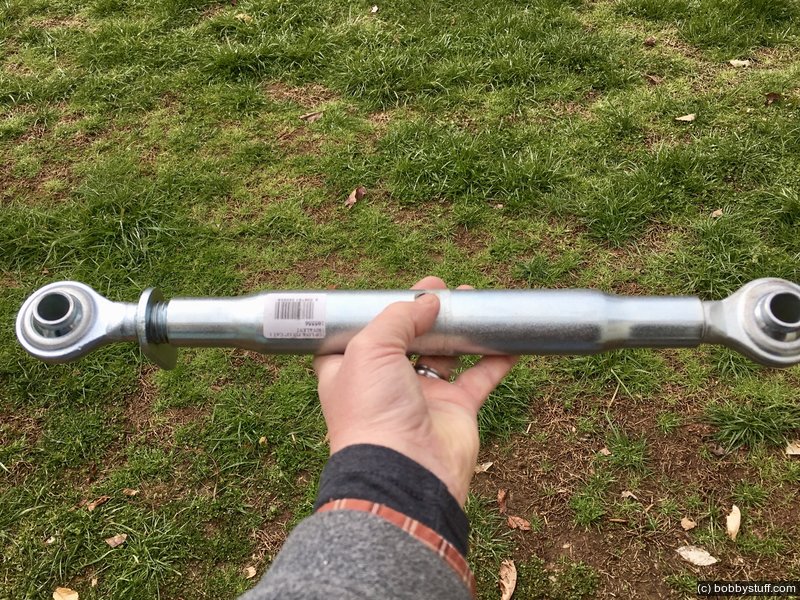
I went to my local Agri Supply and purchased a top link for less than $20. It is a tube with screw pins in each end with a 3/4" heim joint. I removed the two bolts and ball hitch from my trailer. I cut the top link in half and inserted it into the trailer tongue. The top link had one hole but I needed another one. I inserted a bolt through the trailer tube and top link to hold it in place. Then I used a center punch to mark where the other hole needed to be.
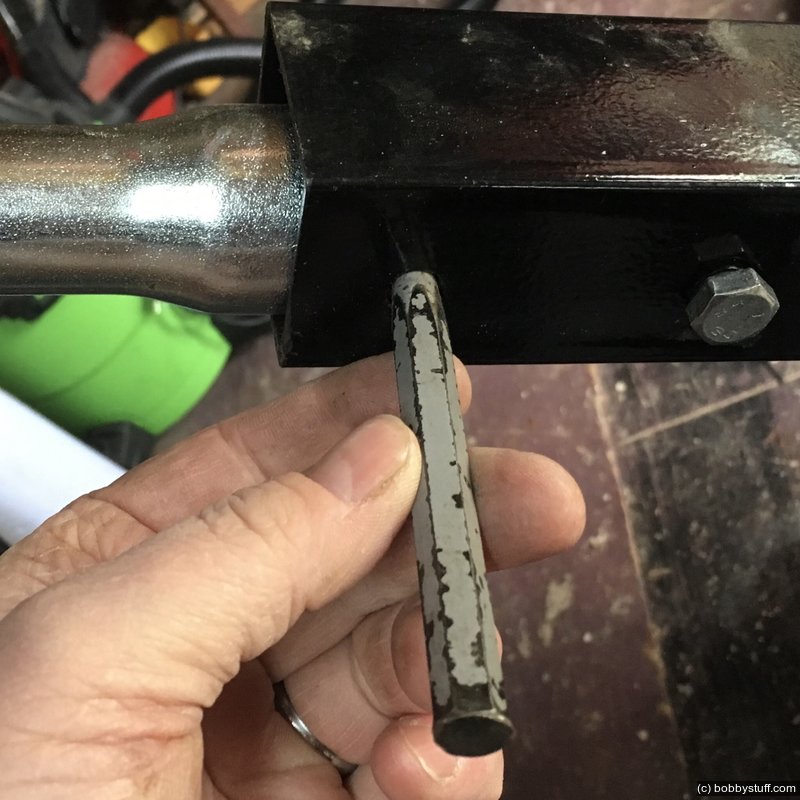
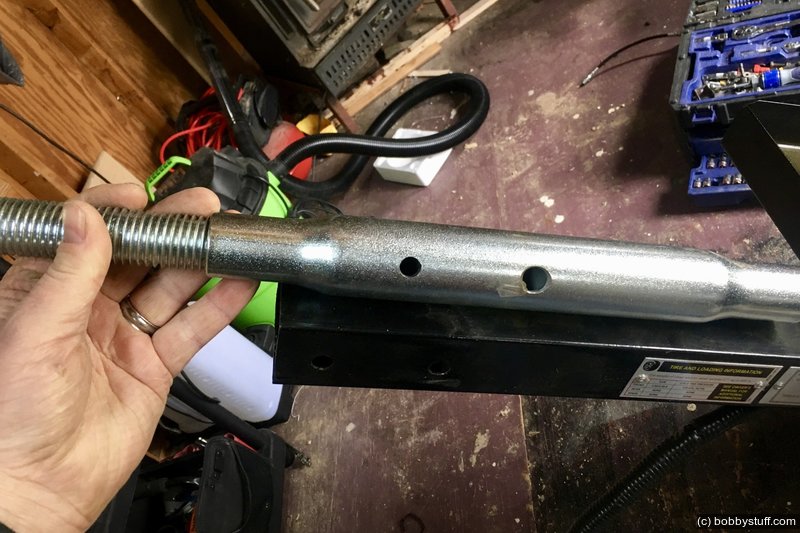
The next problem was the top link was smaller than the inside of the trailer tube. I just used washers on both sides to space it in the middle of the trailer tongue. I used tape to hold the washers in place as I slid the top link into the trailer tube. It was actually pretty easy.
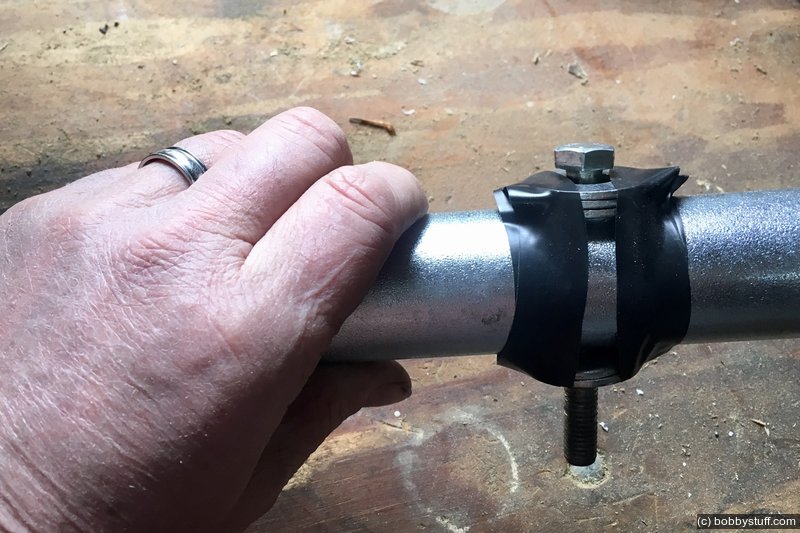
After installing the bolts, the end screw hit the first bolt before it was completely screwed in. I just cut off a couple of inches.
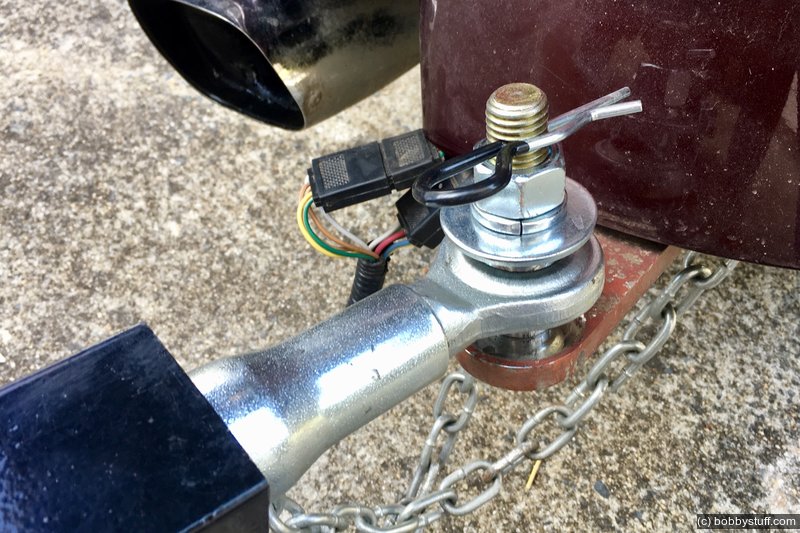
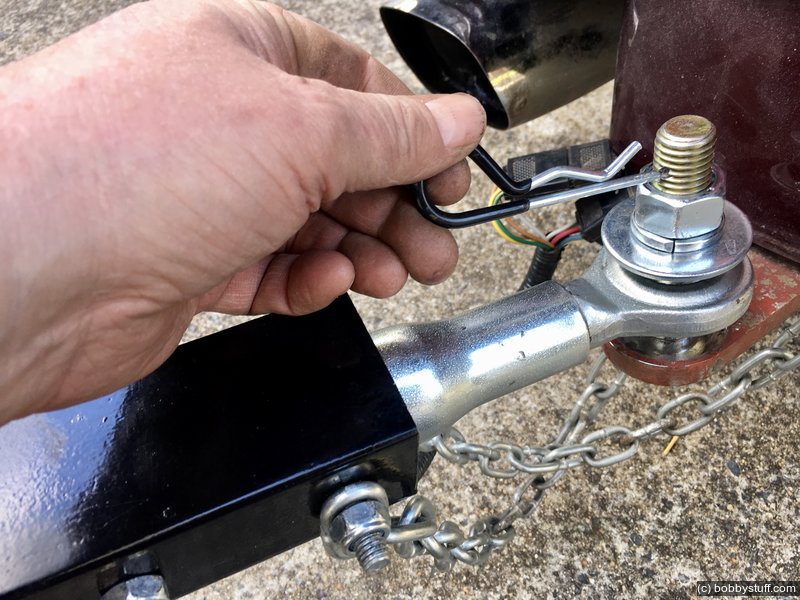
A high grade 3/4" bolt with flat and lock washers attaches the swivel hitch to the motorcycle. For a backup I drilled a hole in the bolt and added a clip pin. Also note the flat washer is large enough that the hitch can not come off the bolt if the heim joint fails.
I added some grease to the threads of the top link screw. When I connect the trailer to the bike I twist the top link screw tight and then back off two turns, insert the 3/4" bolt and tighten. The hitch swivels in the heim ball joint and the screw end twists via the threads. Voila, a cheap man's swivel hitch.
The tires have a rating of 715 lbs at 50 PSI each. The trailer has a GVWR of 770 lbs. With my trailer packed and ready for the 2018 40 to Phoenix ride including a cooler full of ice and drinks, it weighed 275 lbs with a tongue weight of about 45 lbs. I weighed each tire and the tongue with a set of bathroom scales. I put about 25 PSI in the tires instead of 50 since I am way under all the weight limits.
I am very happy with my trailer. Repacking the bike was much easier each morning. I had room for extras and the trunk space on the Gold Wing was empty so I could easily toss in my helmet when I stopped. Laurie flew to Phoenix and spent a week with me. I was able to take her clothes, helmet, jacket, heated vest, boots and chaps with me. All she brought with her was a purse. That made it very easy for her to travel on the plane.

Here are the parts I purchased from Amazon for this project.
3528 LED Strip Lights
Optronics (TLL-9RK) LED Sealed Trailer Light Kit
Peterson V169-3R Red LED Identification Light Bar
LED Amber Side Led Marker Light
XiKe 25mm Axle Wheel Bearings Kit
| Mabry Mill on the Blue Ridge Parkway Motorcycle Ride |
Topics
TagsConfederate Statues (32),Motorcycle (97),National Parks (9),Odd (1),Route 66 (33),Unemployment (6),Zombies (1)