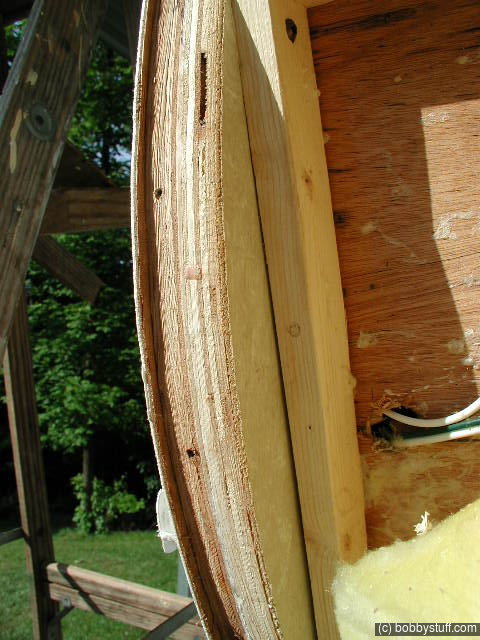
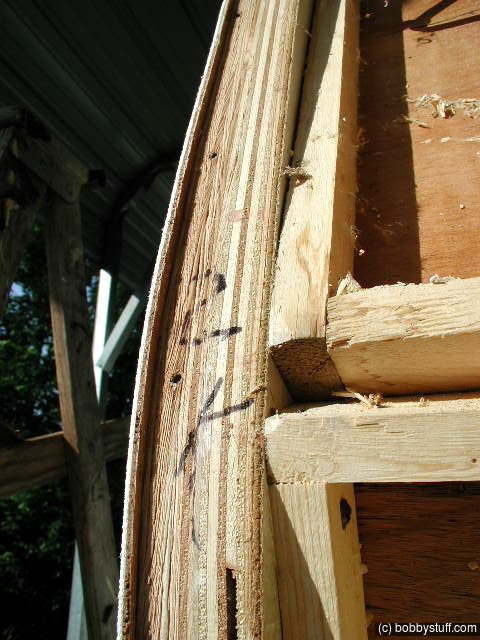
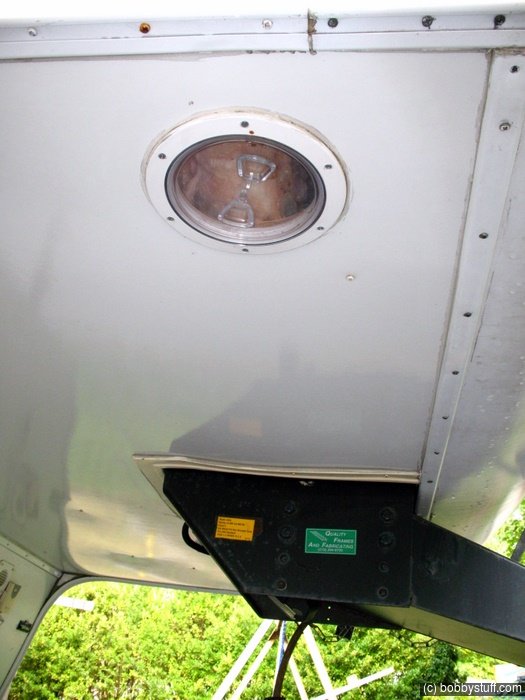
The corner trim on the front cap starts at the top, goes down the corner, under the over hang to the vertical wall under the under hang and then down the corner to the bottom of this wall.
One morning after a heavy dew I noticed water dripping from the trim at the bottom corner of the vertical wall. I started investigating and removed the plastic strip that covers the screws in the trim. I noticed water dripping from a couple of the screws holding the trim to the under hang.
The plastic front cap had contracted with the cold temperatures during the winter and broken the caulk seal at the rim. So I had already suspected I had a water leak.
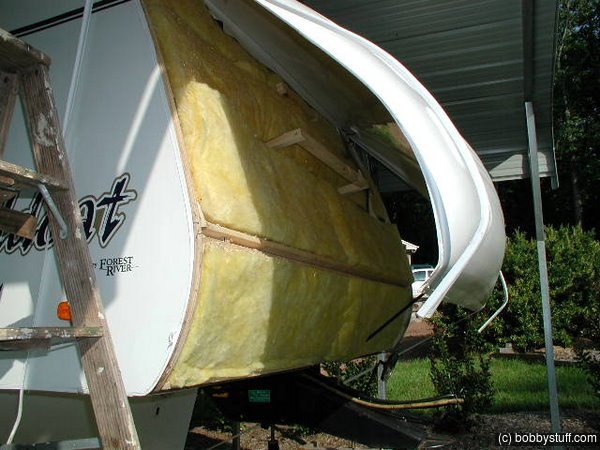
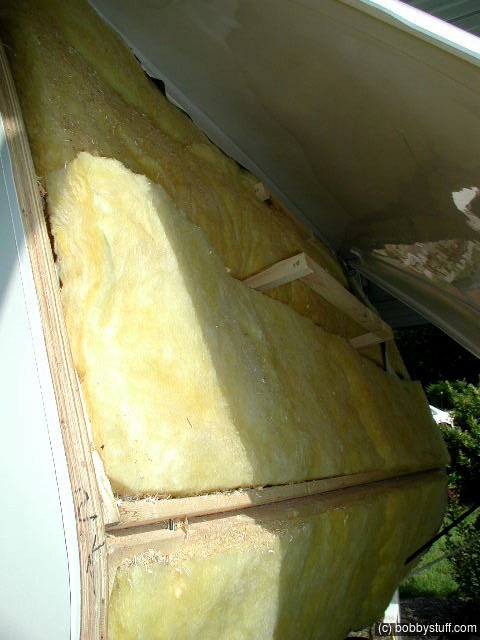
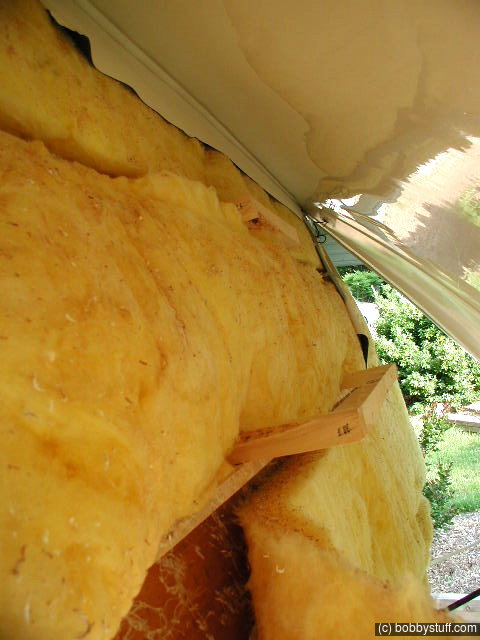
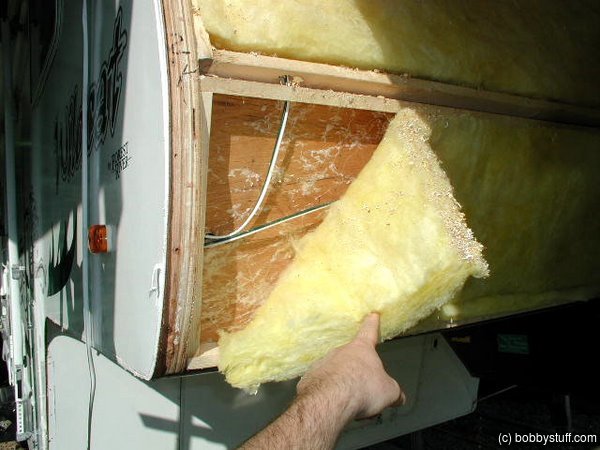
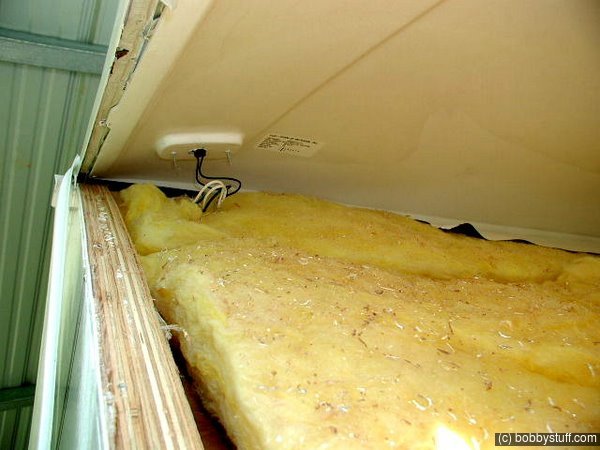
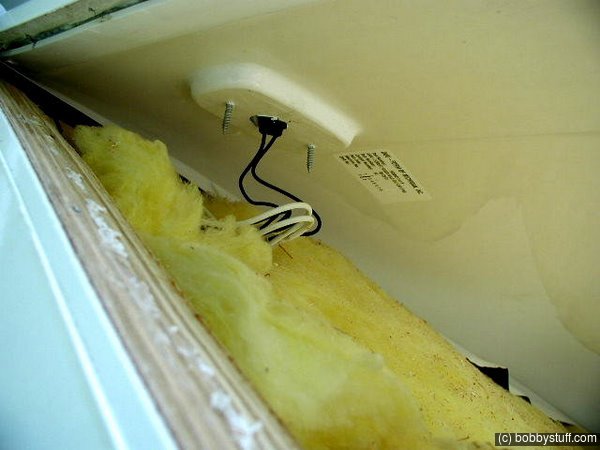
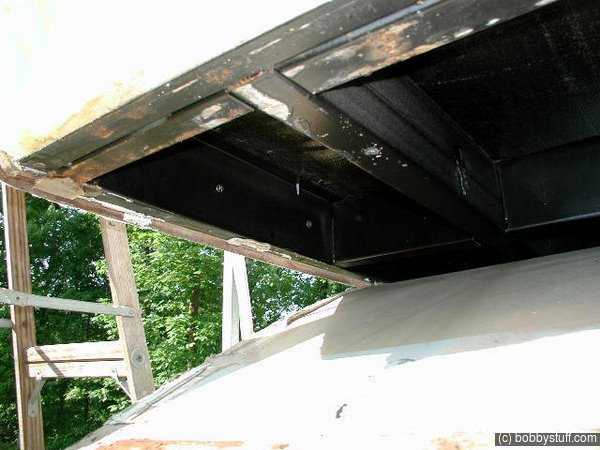
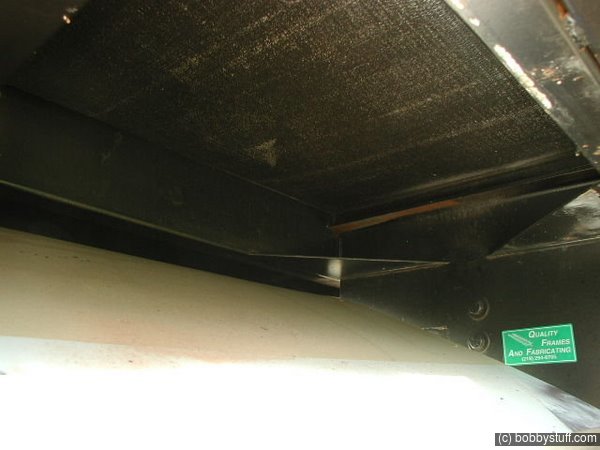
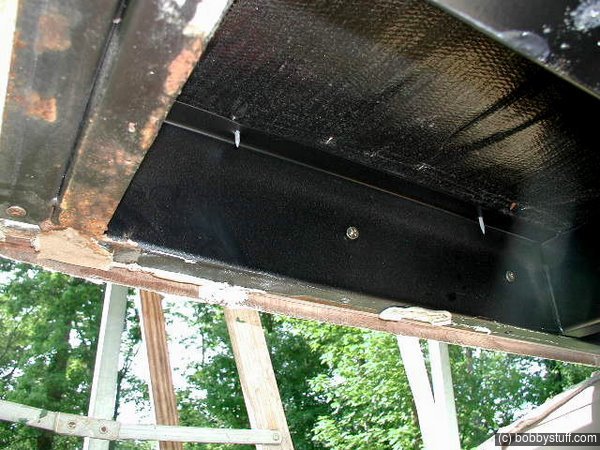
I removed the trim, lifted the front cap up and confirmed that I had a leak. I left the cap attached to the roof because that joint was not leaking. I also removed some of the screws in the fiberglass sheet covering the bottom of the under hang. This had a card board backing and was partially wet. I did not completely remove this fiberglass sheet but just let the front edge hang down.
I called Forest River to describe my problem and to ask them what kinds of caulk or caulk tape I should use. I was out of warranty and assumed it was my problem to fix. They told me they would fix the problem as a recall item. Their fix is to remove the trim and install trim that is wider. I was told to have my dealer call them to set up everything.
Instead I had my dealer order the trim and I installed it myself. That way I could be sure it was done right. I think I spent a long afternoon on the project. I painted the edges of the plywood thinking that would help if I ever have another leak.
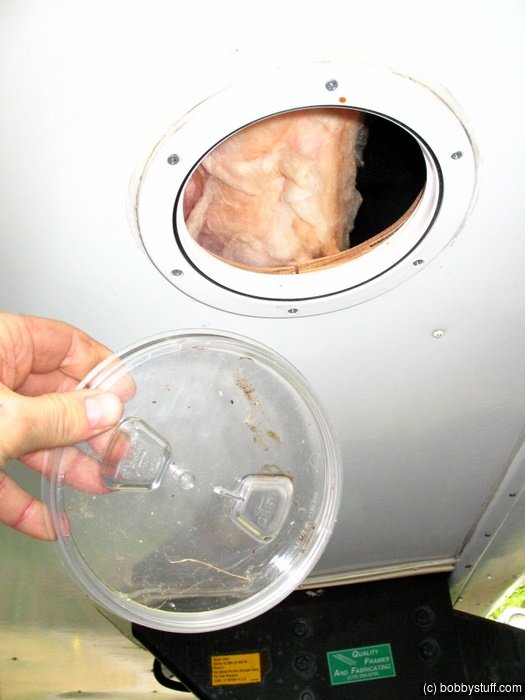
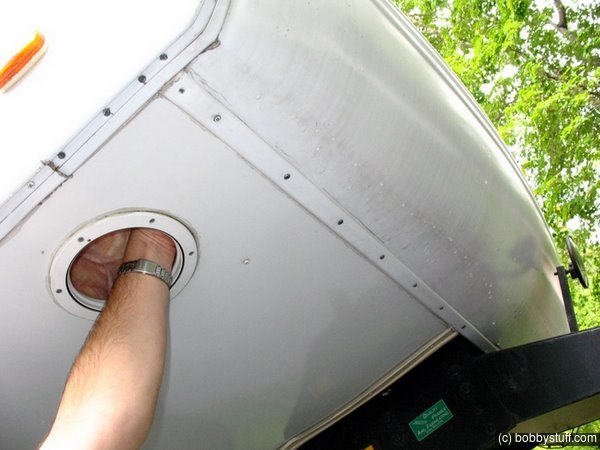
I am updating this page several years later and I have to admit the cap has never leaked again. Once you have one leak you always fear there will be another so I came up with a method to inspect for leaks. I went to a local boat supply store and bought two small hatches with screw on caps. I cut a hole on each side of the overhang and installed the hatches. Now a couple of times each year I screw off the cover and run my hand up into the void. I can run my hand over to the edge of the front cap. If it ever leaks I will know. This makes more sense if you just look at the very last photos below.
I did not get any photos while installing the trim. The photos below are during the disassembly while finding the problem. In the photos below 'curbside' means the side of the Wildcat with the door, the side near the curb. 'Streetside' means the other side, the one facing the other lane of traffic on a 2 lane road. I'll use these terms instead of left or right.


| Stove Hood Exhaust Vent |
Topics
TagsElectrical (18),Generator (7),Leaks (3),Lights (3),Springs and shackles (7),Tires (3)